Since there are many resources for polarisation microscopy on the web, this will be a short post.
Any microscope can be converted to a polarising instrument. All that is required is a polariser below the condenser and second one, the so called analyser, above the objective. The former can sit on the glass above the field diaphragm and the latter can be placed somewhere convenient – either in the body of the microscope such that image of birefringent materials can be seen in both the eyepieces and by a camera on the trinocular tube, in the eyepieces themselves (even above them) or in the tube to the camera. In the later case the birefringence of the subject will only be visible to the camera or a monitor attached to it. Simply because I equipped my 3D-printed camera tube with a filter draw, I chose the latter.
Where to get the polarisers? It is usually said that the cheapest source are the glasses distributed by cinemas that show 3D films but since these have gone almost entirely out of fashion, one will have to buy them on-line or invest in sheets of Polaroid plastic. Polaroid sheets can be bought very cheaply on AliExpress. They are usually intended to be stuck to a display screen and thus have an adhesive on one surface. Since the sheets are a bit ‘floppy’ and because the adhesive layer isn’t great for the clarity of images viewed through them, glass polarising filters are much better and if there is a point to this post it is to indicate that if you know where to look, such filters can be bought very cheaply; £4 each, and they are of excellent quality! Search AliExpress for the following: “Ophthalmic polarization filter”. These filters are intended for use in trial frames by optometrists. They are excellent and a pair when crossed almost entirely extinguish the light. Unfortunately, they come with a metal surround and a handle. It took me a while to realise that these could easily be removed – there is a tiny grub screw on the side of the frame that fixes the handle to it. If this is removed the handles and the metal surround can be taken off. Since you will need to be able to rotate the lower polariser you could keep the handle but better still diy something to hold the filter that enables you to more easily rotate it on the field glass. You could even mark the holder to indicate the angle of the polariser relative to the analyser though for many there probably will not be any intention to quantify anything. However, a scale could be a useful way to return to a particular view of an object.
All that remains is to find some nice things to look at! A good molecule to start with is vitamin C. The patterns it produces are spectacular but there are many other compounds that also produce beautiful birefringent crystals – a list can be found here: LIST.
One further modification can be made to the ‘cheapo’ polarising microscope; the addition of a ‘retarder’ or wave-plate. How these work can be found on-line. However, to cut an otherwise fairly complicated explanation of their function short, though I am not sure it helped me much (!) – the plane polarised light coming from the polariser on passing through a birefringent material is decomposed into two orthogonal components vibrating along the fast and slow axes. Plane polarised light is oriented at 45° relative to the fast axis of the retarder. The orthogonal polarisation components travel through the material with different velocities (due to birefringence) and are phase shifted relative to each other producing a modified polarisation state. The transmitted light leaves the retarder elliptically polarised. Phew! In practice this means that placing a retarder between the polariser and the subject results as the retarder is rotated, in changes in the colour of both the background and the patterns within the crystals being observed. Retarders, specifically a ¼ wave-plate, intended for quantitative use are thin sheets of birefringent materials that are 4(Δn)λ where λ is the wavelength of light, and Δn is the difference in refractive indices of the ordinary and extraordinary rays in the material. Phew again! Traditionally they were made by cleaving mica down to extraordinarily thin sheets but more recently, plastic materials have been used. Because the thickness has to be extraordinarily precise retarders are quite expensive. The good news is that almost any birefringent plastic sheet will act in a manner similar to a retarder and produce interesting and often beautiful changes, in the appearance of birefringent crystals. Things to try out include OHP sheet, the cellophane used to wrap flowers, and thicker materials such as the plastic of a CD case or as below, the plastic used to cover photos in cheap photo-frame. You can have a lot of fun trying out different materials. I think such ‘household’ retarders work because although they are many times thicker than a real wave-plate, they are some multiple of a wavelength plus a bit! Indeed, if you use a material whose thickness varies then you can get some interesting rainbow effects. Please see the movie at the end of this post for the effects of rotating a retarder.
One last note. Though it is fun to create new crystals of say vitamin C each time you want to observe them, they can be preserved under a coverslip by using LOCA as a mountant. See LOCA-link for the use of this material.
Here are some pictures from my ‘cheapo’ polarising setup:
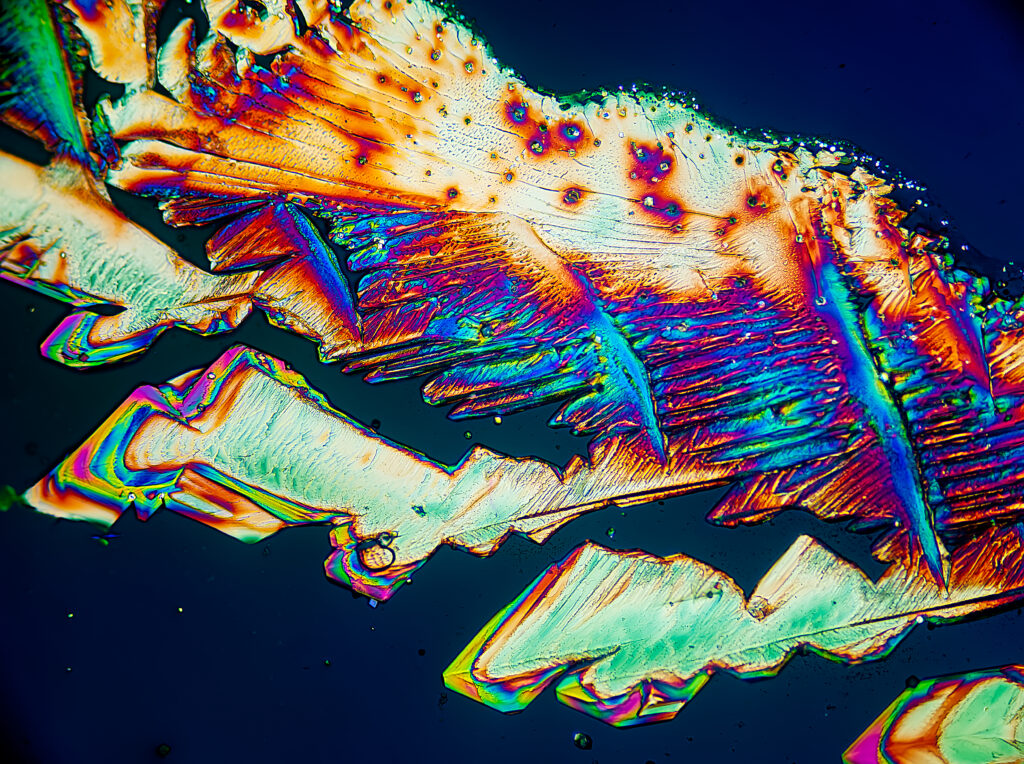
Tartaric acid.
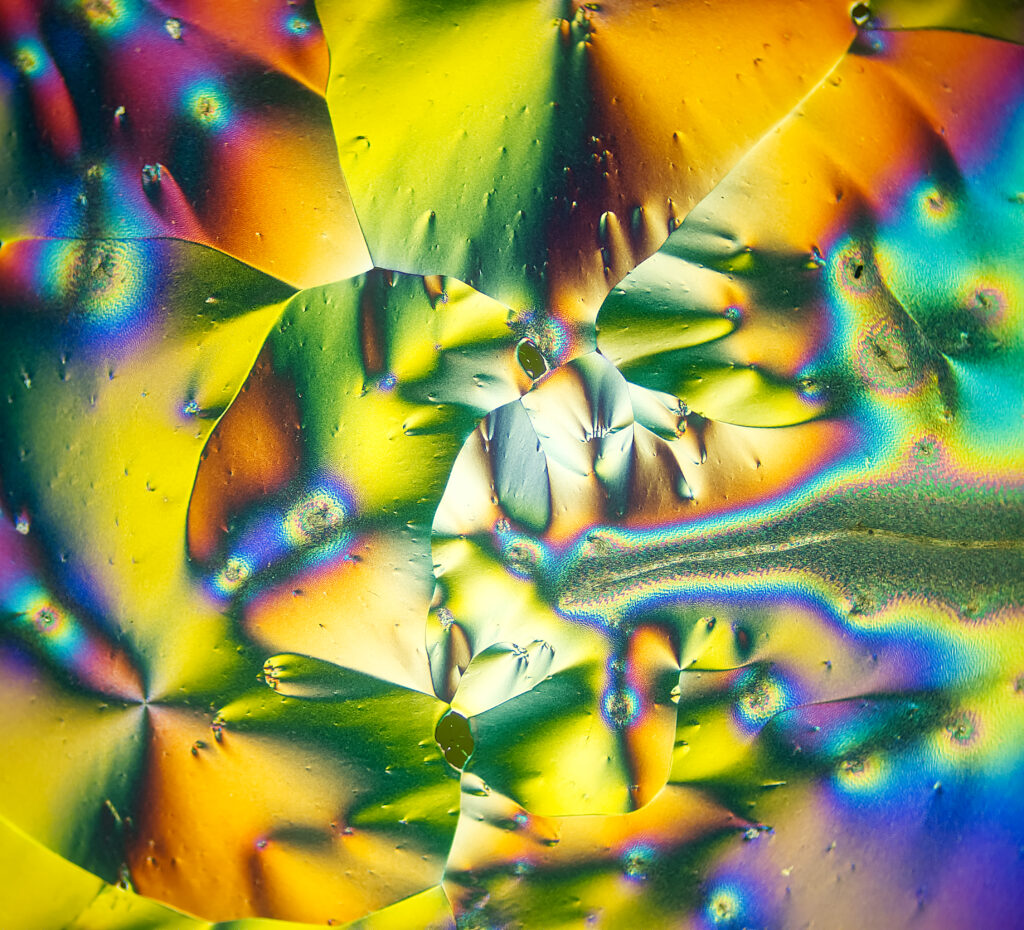
Vitamin C.
Citric acid.
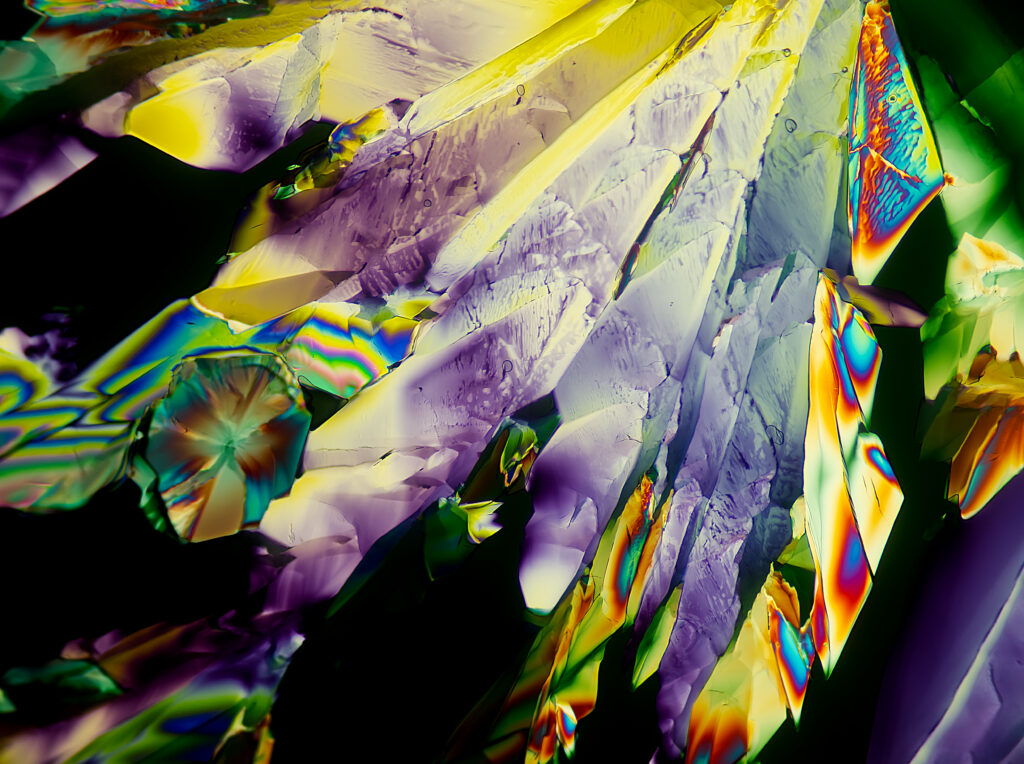
More citric acid.
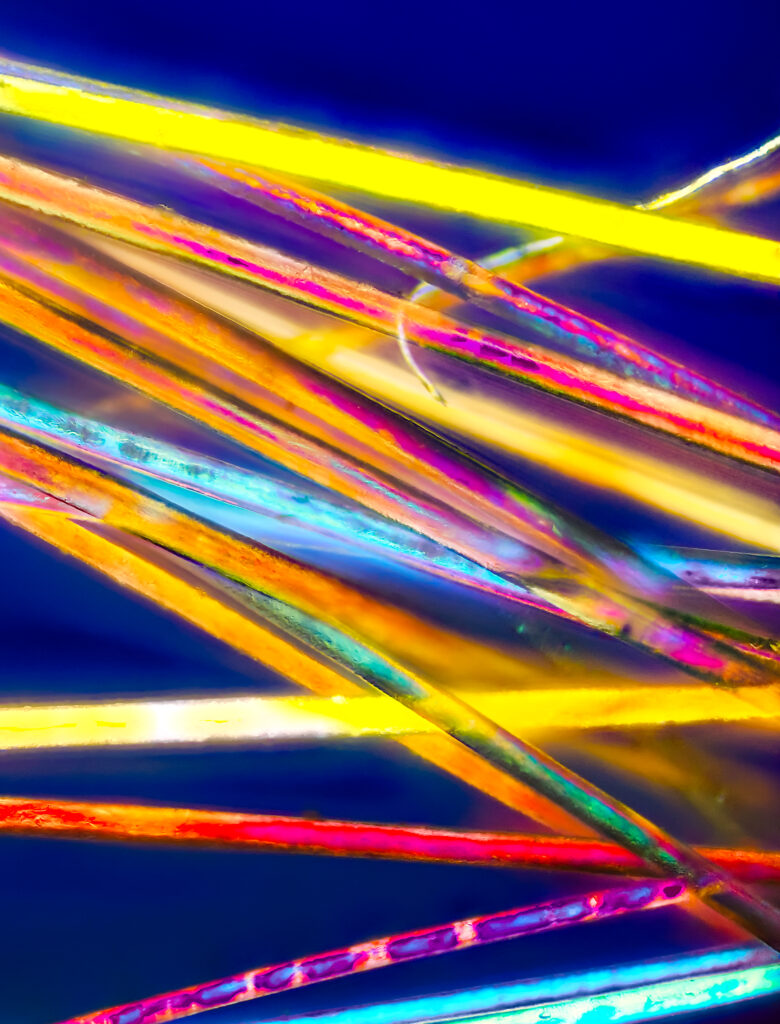
My own very grey hair!
Leave a Reply